Marble tile
thin-set mortar
sanded grout
unsanded grout
fixtures
screws
damp saw
notched trowel
degree
tape measure
electric screwdriver
spacers
pencil
sanding block
mask
rubber grout float
sponge
security eyeglasses
broom
buckets
tile nippers
1. As soon as demolition of this old tile is full, put in a cement backer board when you look at the shower area.
Have a professional install a bath membrane layer and bath cooking pan right for the space. Within task, the bath cooking pan is poured cement.
Save time by establishing several tiles at once. Before you begin setting tile, simply take some dimensions and view how the tiles will all lay out.
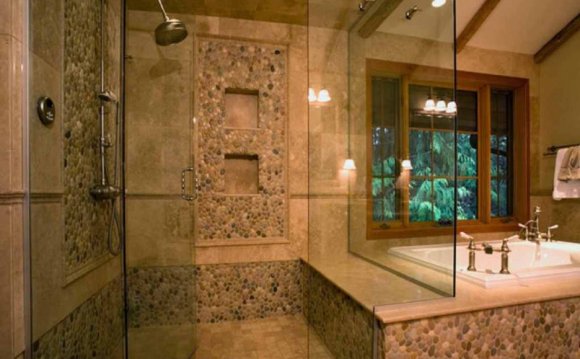
2. Within our task, we used Crema Marfil, an Italian tumbled marble tile. The tiles appear in different sizes, pre-spaced on mats. In the roof and flooring of this bath, we used 2"x2" tiles and on bath walls, 2"x4" tiles.
Within our task, we set the tile for wall surface opposite the bath door initially. Assess the top and base regarding the bath wall surface (ours is 82" long) to be sure it's right and does not slant in or out. Idea: program your design layout in "panels, " increments of three horizontal rows of tile.
Next, dried out put the tile panels, including any decorative borders, to start to see the method it's going to set vertically in the wall. This permits you to see how numerous panels can fit, for which you need to make slices and for which you should begin establishing.
Within project, the rear wall is a regular 48.5" across so we used an ornamental 3" mosaic edge amongst the second and 3rd panels from top of the shower.
For a precise dimension, area out how you can expect to set the panels. After dry laying, determine a good option to start establishing tiles working from base up. Inside our project, a few panels while the mosaic edge is 84.5" tall. We began 72.5" from the the surface of the shower. Remaining base panels get last because cuts should be made.
3. Use a beginner board as a straight edge once you do a straight tile installation assuring panels enter straight and degree.
Share this Post
latest posts
-
 Natural stone Tile Seattle February 27, 2025
 -
 Natural stone tiles Dublin January 28, 2025
 -
 Stone tiles for kitchen floors December 29, 2024
 -
 Stone floor tiles Norwich November 29, 2024
 -
 Install stone tile on drywall October 30, 2024
 -
 Crystal Stone Coffee Mosaic Tile September 30, 2024
 -
 Stone Mosaic Tile Company August 31, 2024
 -
 Stone Tile wall cladding August 1, 2024
 -
 Installing Travertine subway tile backsplash July 2, 2024
 -
 Adhesive for stone wall tiles June 2, 2024